
Как сделать эффект vhs в after effects
Прошли те времена, когда вас просили быть любезным и перемотать видео на начало, прежде чем вернуть кассету в прокат, или почистить кассеты с помощью очистителя VHS, чтобы они прослужили ещё дольше. Кстати, о недолговечности: по мере того, как вы всё больше и больше проигрывали кассету VHS, появлялись дефекты и недостатки, изменяя саму картинку.
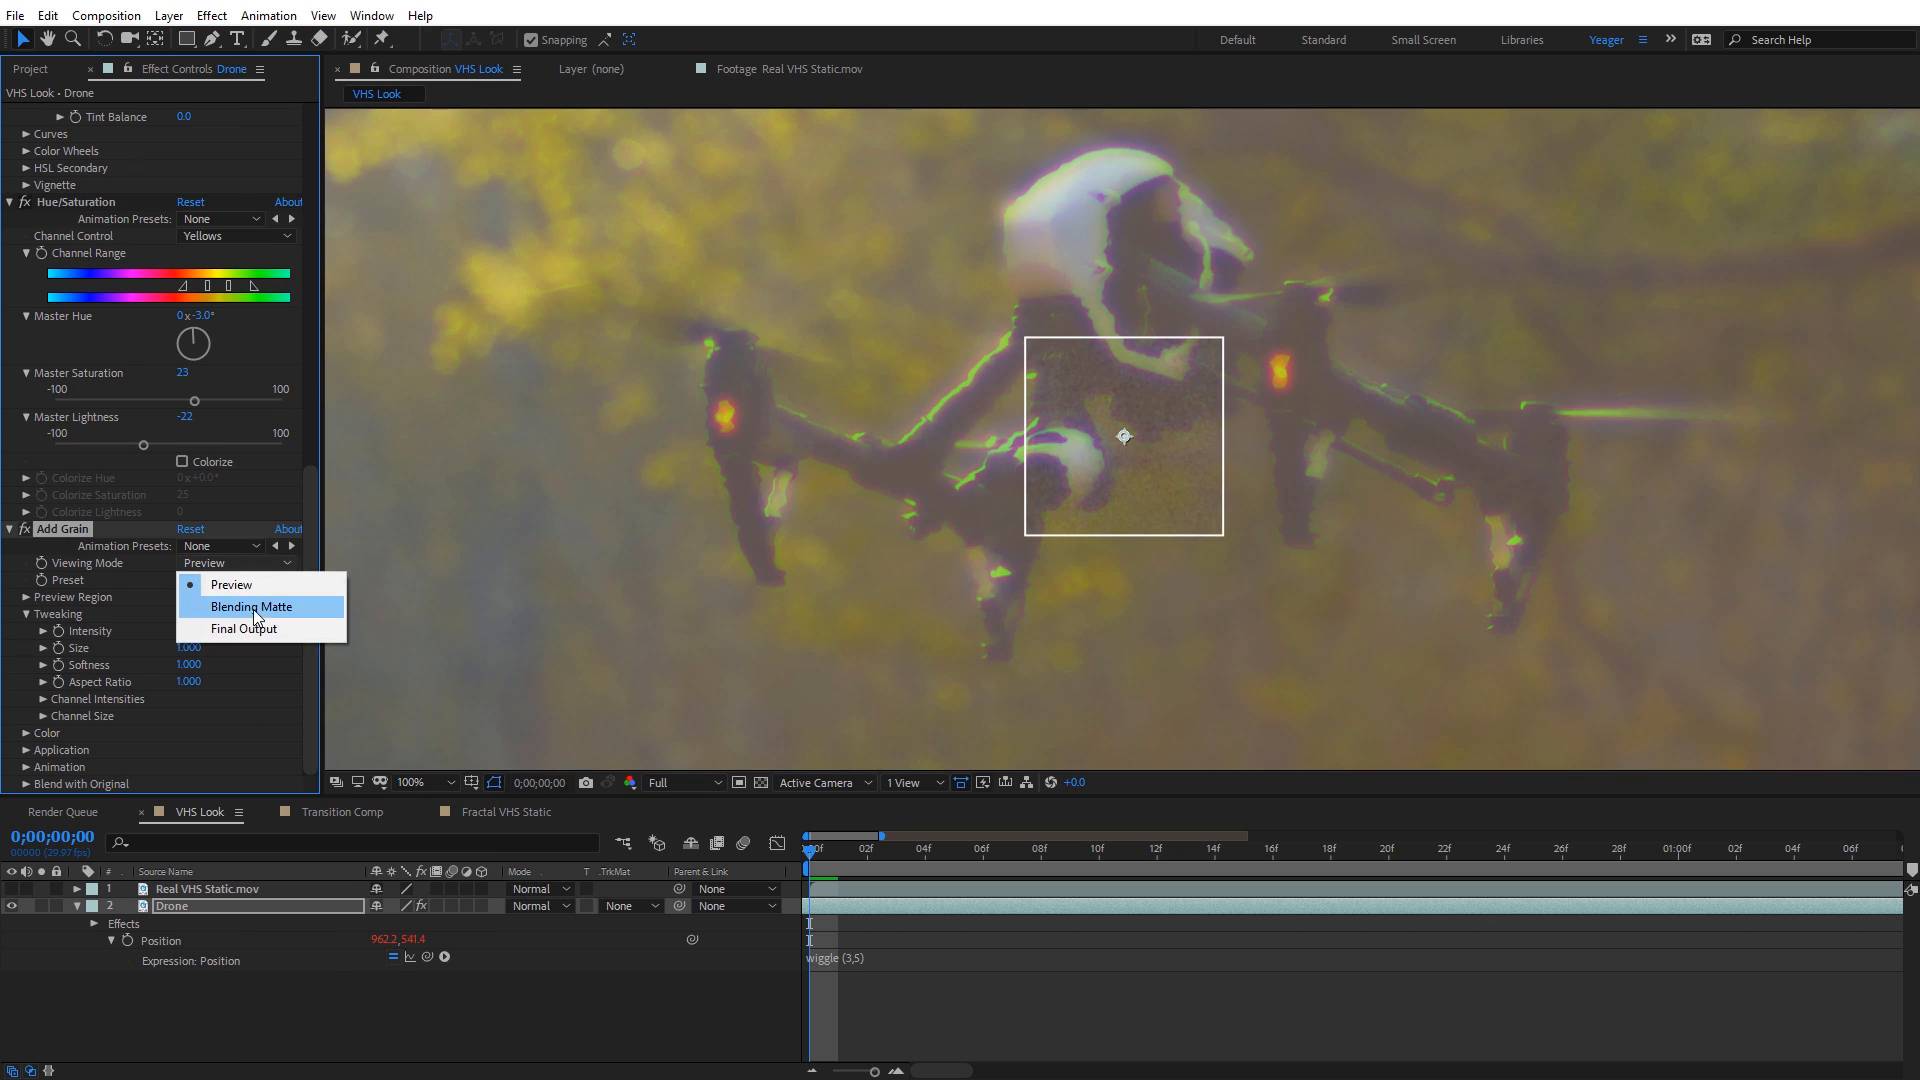
Иногда это забавно или даже полезно поделиться впечатлениями, когда имитируешь те же визуальные эффекты. В предыдущем уроке Чарльз Йегер показал, как создать свой собственный стиль VHS в After Effects:
Однако, если вы хотите восстановить некоторые из этих аналоговых ощущений в своих видеоматериалах без усилий, то у вас есть варианты. В этой статье мы рассмотрим девять готовых шаблонов для After Effects и Premiere для вывода ваших видео проектов в формат VHS. Обязательно ознакомьтесь с видео-превью ниже каждого описания, чтобы увидеть их в действии!
1. VHS Madness Logo Reveal — After Effects
Этот пакет напоминает многие кассеты VHS, которыми были у меня в 90-е годы, с эффектами рыхлости плёнки и зерна для анимации собственного логотипа в должном стиле.
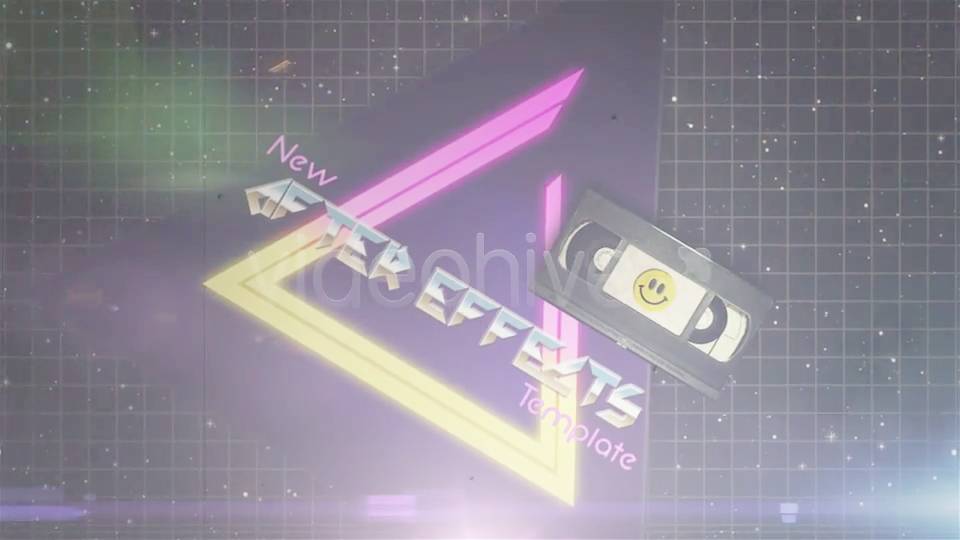
2. 80's Fever — After Effects
Давайте вернемся в прошлое с этим проектом моделирования VHS для Adobe After Effects. Эта машина времени действительна похожа на взрыв из прошлого.
3. Glitch Transitions Pack — After Effects
Задолго до того, как эффект глюка нашел свое место в научной фантастике и технических продуктах, таких как г-н Робот, мы в основном создавали их с помощью кассет VHS! Этот пакет имитирует эффект стиля VHS в Adobe After Effects благодаря своим зернистым стилям и линиям наложения.
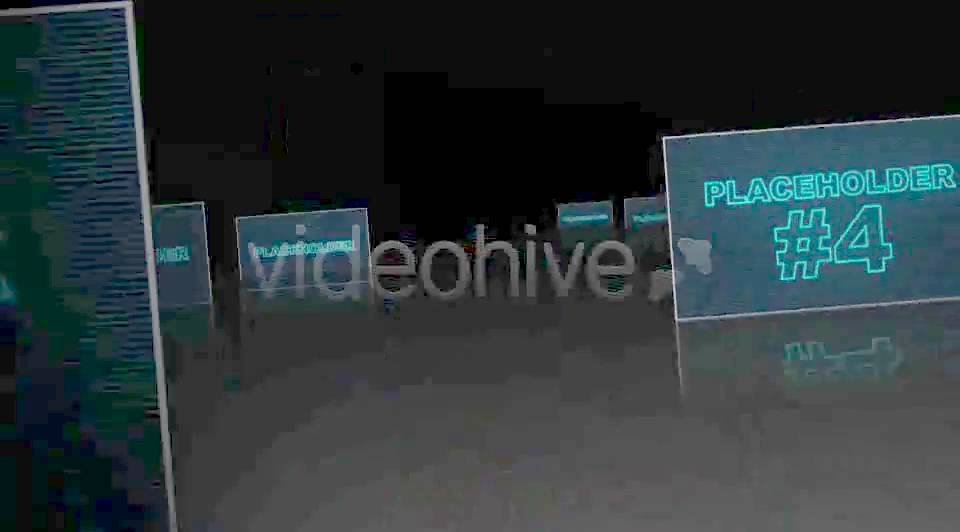
4. VHS Opener — Adobe Premiere
Доступен в качестве простого блока на Videohive, VHS Opener - идеальный способ создать ретро ощущение, чтобы придать тон к вашему видео. Объедините его с другими проектами из этого обзора для полного изменения дизайна.
5. VHS Colorful Transitions — Cross-Platform
Многофункциональность: этот графический пакет динамики может работать с любой платформой для редактирования видео. Добавьте эти ресурсы для создания красочных переходов с эффектами глюков VHS.
6. Static Screens Logo — After Effects
В этот проект After Effects легко добавить свой собственный логотип. Просто добавьте логотип и вы увидите его анимацию с эффектом зернистости и линиями сетки, которые идеально подойдут для моделирования эффекта VHS.
7. Glitch & Distortion Logo Sting Pack — After Effects
Этот пакет включает множество глючных и скачкообразных эффектов, некоторые из них являются отличными симуляторами дефектов VHS.

8. VHS Noise — Stock Footage
Представляем вам ещё один многоцелевой пакет, который вы можете использовать с различными редакторами. Поскольку это стоковое видео, то вы можете просто наложить его на своё существующее видео и редактор, чтобы добавить эффект практически в любое приложение.
9. Bad Signal Transitions — Stock Video
Свыше 50 эффектов в одном пакете, это шаблон позволит вам совместить эффект VHS с вашим проектом.
Ещё Больше Простых Видео Проектов
Если видео VHS с зернистостью - это не ваш стиль, то это не проблема. Существует множество других креативных эффектов, которые вы можете скачать и использовать для работы в своём рабочем процессе. Ознакомьтесь с другими проектами ниже, чтобы создать ещё больше простых видеопроектов.
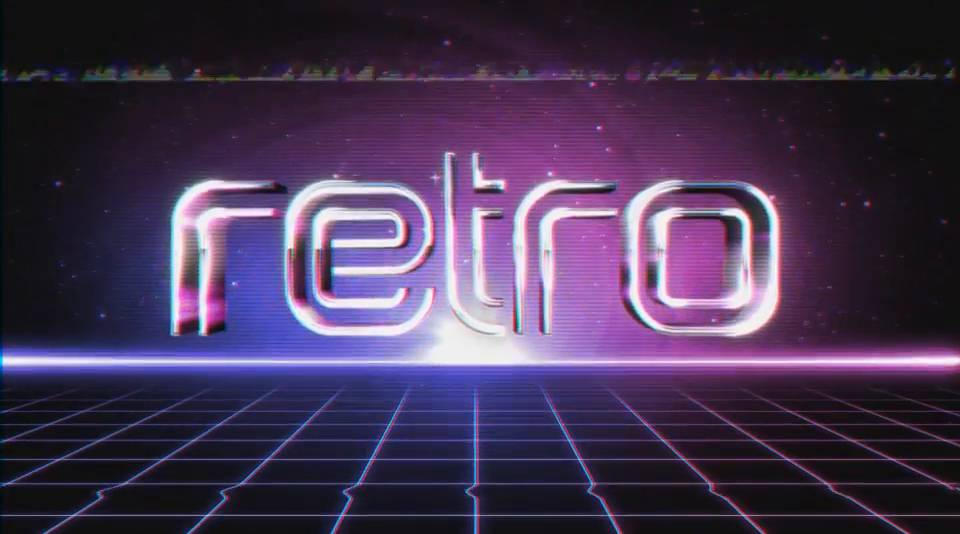
In the past few years, the retro "VHS Look" has become quite popular. In this tutorial, we explore how to add a VHS look to our footage in After Effects, without using any third-party plugins.
We will also look at how to create a "VHS style" transition that can be used to accent a video. I see this VHS-style transition quite often on a Youtube show called The Modern Rogue, for example. You can see the VHS transition here at 2:33.
![]()
![]()
![]()
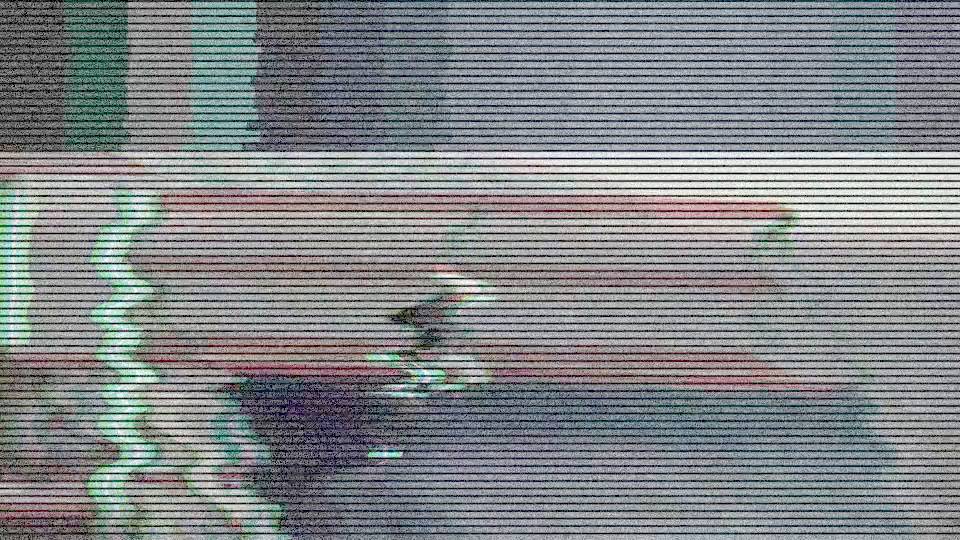
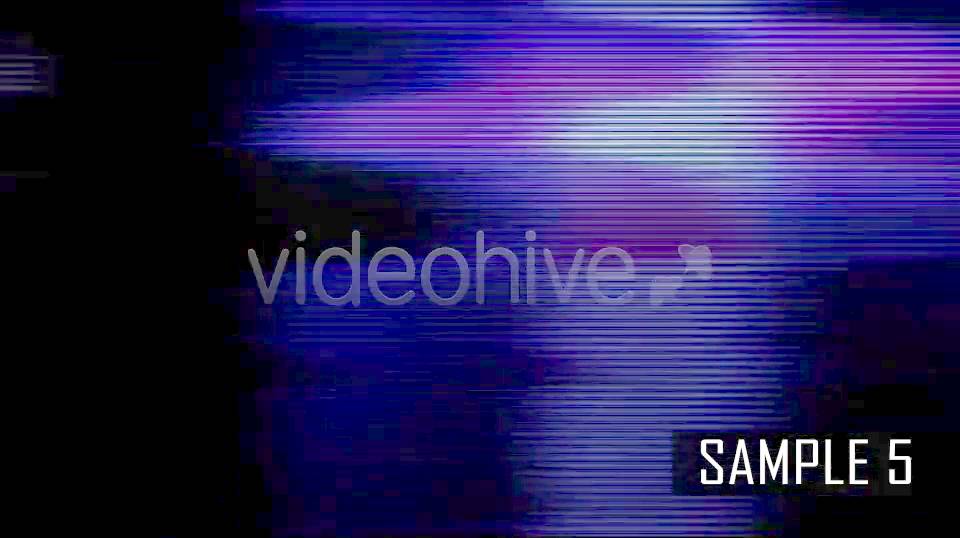
You won't need any third-party plugins to create this effect. However, you can achieve a much better result using footage of actual VHS static combined with this effect. You can find lots of VHS static clips on VideoHive. Here are a few of my favorite VHS static clips:
If you don't have access to any static clips, you can create your own using the Fractal Noise effect in After Effects. Just stretch the width out really far to create lots of black and white lines. Then animate the evolution to make the static move. I've included some fractal noise static in the project file for this tutorial.


Finally, sound design also plays a big role on any VHS look. Use VHS and retro sound effects from AudioJungle to accent the static and transitions on your video. Here are a few of my favorite VHS sound effects:
Photoshop за 60 Секунд: Обложка для Историй в Instagram
Создание креативного профиля Instagram - действительно простой способ получить больше подписчиков. Теперь вы можете украсить свои любимые истории искусными обложками в своём профиле. Это видео покажет вам, как создать три простых обложки, используя потрясающие градиентные фоны и иконки.
Посмотрите, как осуществляются шаги и получите всю необходимую информацию в процессе создания ниже. Найдите ещё больше потрясающих задних фонов и ресурсов на Envato Elements.

Как Создать Обложку для Историй в Instagram
Вначале настройте свой рабочий документ. Установите следующие размеры 1080 x 1920 px, идеальные размеры для Instagram.


Теперь вам нужно решить, какого цвета или какую графику, вы хотите использовать для заливки заднего фона. В качестве простого решения, просто залейте новый слой любым цветовым оттенком с помощью инструмента Заливка (Paint Bucket Tool (G).
Но для более креативного решения, я использую красивый градиент для заднего фона от Envato Elements. Скопируйте / вклейте градиент на новый слой, расположив его по месту с помощью инструмента Перемещение (Move Tool (V).


Теперь добавьте категории. Скачайте набор Иконок, используйте иконки, чтобы определить каждую категорию. Здесь я добавлю следующие иконки: логотип Instagram для шаблонов Instagram, музыкальную иконку для любимой музыки и иконку солнца для постов о событиях в жизни.


Расположите каждую иконку по центру графики, а затем загрузите результат в Instagram. Далее, идём в своё профиль и создаём новые обложки для своих историй Instagram.
Вы можете увидеть итоговый результат на скриншоте ниже.


Узнайте Больше, Посетив Другие Наши Уроки!
Хотите узнать больше про интересные приёмы для Instagram? Тогда начните с одного из наших уроков Photoshop! Создайте увлекательную и вдохновляющую графику для публикации всех ваших постов в социальных сетях и поделитесь своими результатами в комментариях к уроку.
Скачайте Потрясающие Дизайнерские Ресурсы
Хотите создать эффект как на видео? Тогда, скачайте исходные ресурсы, которые использовались в этом видео-уроке:
Просмотрите другие уроки, чтобы узнать больше от наших экспертов:
За последние несколько лет ретро эффект “VHS Look” стал довольно популярным. В этом уроке вы узнаете, как добавить стиль VHS в исходные видеоматериалы в After Effects, без использования сторонних плагинов.
Вы также узнаете, как создать переходы «VHS style», который можно использовать для усиления видео. Я часто вижу подобные VHS переходы на Youtube, например, в шоу под названием The Modern Rogue. Вы можете увидеть переход VHS здесь в 2:33.
![]()
![]()
![]()
Для создания этого эффекта, вам не понадобятся сторонние плагины. Тем не менее, вы можете добиться гораздо лучшего результата, используя видео VHS помех в сочетании с этим эффектом. Вы можете найти множество видео шаблонов с VHS помехами на VideoHive. Вот несколько моих любимых видео шаблонов с VHS помехами:
Если у вас нет доступа к скачиванию видео шаблона с помехами, то вы можете создать свой собственный, используя эффект фрактального шума в After Effects. Просто растяните картинку на достаточную ширину, чтобы создать множество чёрно-белых линий. Далее, создайте анимацию развёртки, чтобы придать помехам движение. Я включил несколько фрактальных шумов с помехами в исходный файл для этого урока.
Наконец, звуковой дизайн также играет большую роль в любом стиле VHS. Используйте VHS и ретро-звуковые эффекты от AudioJungle, чтобы подчеркнуть помехи и переходы на вашем видео. Вот некоторые из моих любимых звуковых эффектов VHS:

In this video tutorial, learn how to create the classic VHS look with Adobe After Effects — with free VHS preset and assets!
Nostalgia continues to be a popular trend right now (check out 2019’s biggest creative trends). The VHS look is no exception. In this tutorial, we’re going to examine how to create a VHS look — from scratch — in After Effects. Then, we will explore ways in which we can accentuate the look with tape glitches, static, and more. (We’ve also included a free After Effects VHS preset, as well as assets you can use to follow along.)
Ready to re-visit the ’80s? Let’s get started!
By downloading, you agree not to redistribute these assets.
Crafting the VHS Look
To create our initial VHS look, we’re going to use a combination of three effects: Lumetri Color, Channel Blur, and Unsharp Mask. First, create an adjustment layer, and then apply Lumetri Color. We can use Lumetri Color to increase the contrast, fade the black levels, and decrease the image sharpness. Next, we will use two instances of the Channel Blur effect to blur the Red channel vertically and the Blue channel horizontally. This creates a subtle RGB split appearance. Finally, we will add back in some over-the-top sharpening with the Unsharp Mask effect.

4:3 Aspect Ratio
If you want an authentic VHS look, you’ll need to set the aspect ratio to 4:3. My preferred method is to use a 4:3 image overlay on top of 16:9 footage. However, you can also adjust the Composition settings to be 4:3. I recommend a frame size of 1440×1080, if you use this method.

Noise and Grain
For adding noise to your footage, you have a few options. The first is using After Effects’s built-in Noise effect. This can yield great “filmic” results when set to a low value. The second option is to use a VHS or film grain overlay (I included one in the project file). Just place this clip over your footage, set the blending mode to Overlay, then adjust the opacity as necessary.

VHS Shake
In After Effects, it’s easy to add some subtle “VHS shake” to our footage using Expressions. First, create an adjustment layer above all of your other layers (except for the 4:3 overlay, if you are using one.) Next, apply the Transform Effect. We want to animate the Transform Position. To do that, hold Alt + Click on the Position stopwatch (hold Option + Click on Mac.) This will open up the Expression Editor for Transform Position. Type “wiggle (7,2).”

This will cause the footage to move randomly seven times per second, by two pixels. It’s enough to give us the VHS shake we want. Finally, increase the Scale setting on the Transform Effect to 101 to ensure we don’t see any black edges.
VHS Tape Wrinkle
In order to create the classic Tape Wrinkle Effect, we need to create a new adjustment layer. Then add the Transform Effect. Uncheck the Uniform Scale option, and set the Scale Height to 1000. From there, manually resize the height of your adjustment layer to the size you want the tape wrinkle to be. Next, you will need to parent the Transform Anchor Point to the Position of the adjustment layer. To do this, Alt + Click (Option + Click on Mac) and drag the Pick-Whip from the Transform Effect Anchor Point down to the adjustment layer position. This will link them both. Finally, add another Transform Effect (just as before) and set the Scale Height to 1000. You can now keyframe the movement of the tape wrinkle on your footage at any time.

Slowing the Frame Rate
If you need to slow the frame rate down on your footage, a great effect to use is Posterize Time. Just create an adjustment layer at the top of your composition stack, then apply Posterize Time to it. You can then change the visible frame rate of your footage. I like using this method because it allows you to keyframe the frame rate, slowing it down on parts of your VHS footage with more glitches.
Installing the After Effects VHS Preset
Installing the VHS Effect preset is easy — on both Mac and PC. Just navigate to your Documents folder, then Adobe, and then the After Effects CC folder for your version of After Effects (the VHS preset works with After Effects CC 2018 and up.) In your After Effects CC version folder, you will see a User Presets folder. Just drag-and-drop the VHS Effect preset into that folder. Now when you use After Effects, just search “VHS effect” in the Effects & Presets panel.
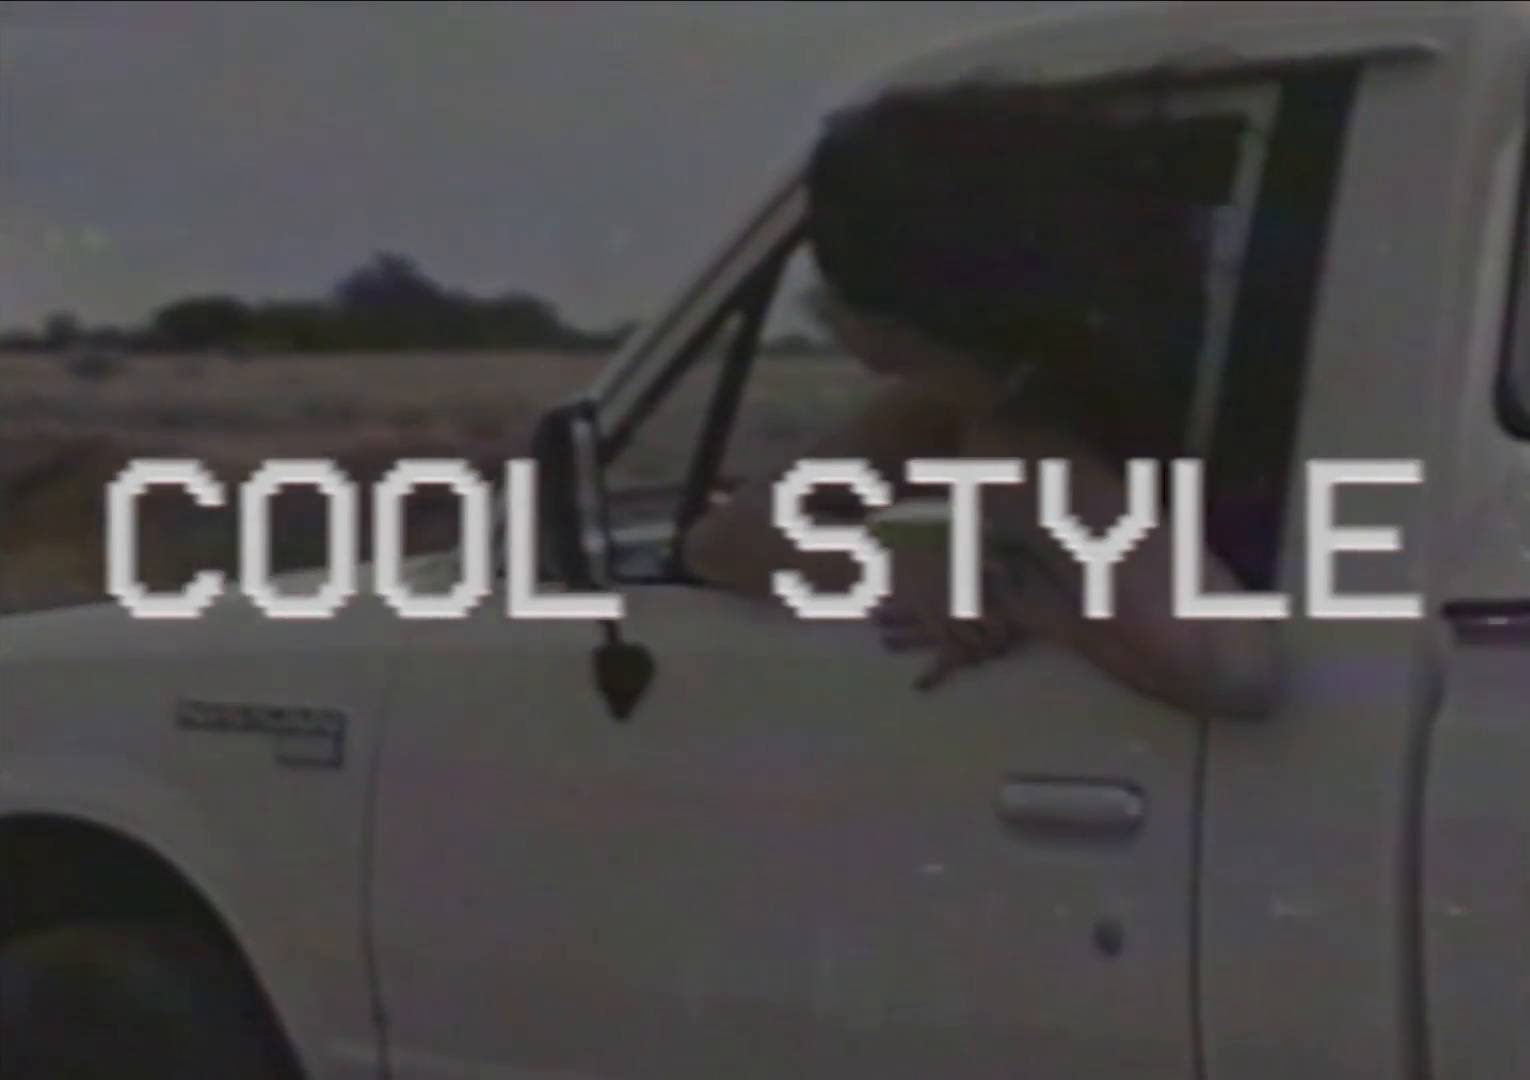
Create a retro-realistic distorted VHS look using this free After Effects template.
Download Unlike our paid products, we currently do not offer technical support with RocketStock freebies.
Create a realistic distorted VHS look using this free After Effects template.
If you’re trying to give your footage a nostalgic VHS-style look, After Effects is the perfect program. However, sometimes making footage look the “right kind of bad” is just as hard as making it look good. To make the process easier, we’ve created a free After Effects template to help you create a realistic distorted VHS look. Just follow these easy steps:
Step 1: Download and Install Free Font

Download the free ‘VCR OSD Mono’ font from DaFont. Simply follow the link below and click the download button. A zip file will be downloaded. Double click the zip folder. A .ttf file should appear in your downloads folder now. Simply double-click and install the font onto your computer.
Step 2: Download Free After Effects Project File

Download our free VHS Distortion project file here on RocketStock. If the project file looks eerily familiar, it’s because it’s a variation of our free Digital Distortion project file. However, this project includes one extra slider called ‘VHS Lines’.
Step 3: Drop Footage in ‘Drop Footage Here’ Composition

Once you download the file, open up the project file. It is down-saved to work in any version of After Effects CS5.5 and above. Drop your footage into the bottom of the ‘Drop Footage Here’ composition.
Step 4: Change Text As Needed

Change the text in the ‘Drop Footage Here’ composition. Make sure your font is set to ‘VCR OSD Mono’.
Step 5: Export out ‘Final Output’
Jump into the ‘Final Output’ composition and render your footage. You can change the way your project looks and feels by selecting the ‘Magical Place’ composition and adjusting the various sliders inside. You can also get some pretty cool digital distortion style effects by turning up the ‘Color Boxes’ effect.

Have any tips for simulating VHS footage? Share in the comments below.
Читайте также: