
Как конвертировать кисти из procreate в фотошоп
Working across various different pieces of software to produce digital artwork can be really useful since it can offer you a much higher level of versatility. One particularly promising combination is Procreate and Photoshop: Procreate is home to such a wide variety of brushes and Photoshop can be great at producing digital drawings with customisable brushes.
So, wouldn’t it be great to be able to use brushes from Procreate whilst creating artwork in Photoshop? Unfortunately, it isn’t the easiest thing to do as there is no way to directly bring Procreate’s brush files into Photoshop.
Yet, there is a technique you can use to get around this issue, and luckily it will only take around ten minutes. By making a mark with the brush in Procreate, saving it as a JPEG, and importing it into Photoshop where you can use it to define a brush preset, you can essentially convert the brush into one that is compatible with Photoshop.
In this article, we will explore this technique in more depth to help you find a way to work around the issue. Before we jump in, if you would like to learn more about how you can increase the range of brushes you have access to in Photoshop, then check out our article about how to install and use Photoshop brushes from external sources.
Can You Use Procreate Brushes in Photoshop?
As we briefly mentioned before, the short answer to this question is no. The file format of Procreate brushes is different to that of Photoshop brushes and is therefore not compatible with the program.
This means that you cannot directly use Procreate brushes in Photoshop in the same way that you can use externally sourced brushes by simply downloading them into the program. But let’s take a look now at how you can use a different method to mimic Procreate brushes in Photoshop.
How to Create a Photoshop Brush From a Procreate Brush
Since we can’t use Procreate brushes directly in Photoshop, let’s explore how you can achieve the next best thing: producing a new Photoshop brush from the Procreate one.
1: Create a Mark on White with a Black Version of the Brush
For this technique, you will need to begin in Procreate by setting the color of the brush you would like to use in Photoshop to black. Make sure that the Opacity of the brush is set to 100%.
Fill the background of the document with pure white, then use the black brush to make a single mark that is representative of the brush’s style as big as possible within the constraints of the canvas. Make sure that none of the edges of the mark leave the borders of the document.
Later, when we use this sample image to create a Photoshop brush, Photoshop will automatically create a brush based on the varying tones of gray within the image. This means that any black areas are completely visible in the created brush, whereas the white areas in the sample image will be translated into transparent pixels. Any tones of gray between black and white will adopt varying levels of transparency.
Thus, by using black for the brush mark and white for the background in our Procreate sample image, we have ensured that the elements of the brush itself will be rendered completely visible when we create the Photoshop version of the brush whilst the unwanted background areas will be made completely invisible.
2: Save the Brush Sample as a JPEG and Open it in Photoshop
Now that you have created a mark with the brush, save the document to a suitable file location as a JPEG image. Then, open up Photoshop and head to File > Open.
In the window that opens, select the JPEG image from your documents to open it in Photoshop.
3: Select Edit > Define Brush Preset to Create a Brush from the Image
Now that the image of the Procreate brush has been opened in Photoshop, you can go ahead and select Edit > Define Brush Preset from the menu bar along the top of the screen.
Doing so will open a new dialog box where you can type in a name for the new brush. Name it whatever you wish to, then hit OK to confirm the creation of the brush!
You can now use the brush in whatever way you want! To do so, simply activate the Brush Tool by clicking on the icon depicted below, found in the toolbar down the left side of the screen. Alternatively, you can use the keyboard shortcut ‘B’.
With the tool active, a new options bar will appear near the top of the screen, as shown below.
Within this bar is a wide selection of settings that you can alter in order to customise the properties of your brush, such as the size, hardness, type, and opacity.
To select the brush that we just created, all you will need to do is click on the Brush Preset icon to open a new window where you can select the style of brush you would like to use. So, click on the icon circled below.
After doing so, you should see that a new box appears below the icon. Scroll through all the brushes displayed in it until you get to the bottom of the list. The last brush in the box should be the one you just created based on the Procreate brush! Click on it to activate it.
With the right brush selected, you can now paint with it in Photoshop. Remember that you can alter the size, hardness and opacity of it in the bar near the top of the screen. To access more settings that you can edit to alter the properties of the brush, choose Window > Brush Settings to open a new box containing a wide variety of settings that you can change.
VIDEO TUTORIAL
Hopefully, you have now managed to create a Photoshop-compatible version of your Procreate brush which looks pretty authentic and as similar as possible to the original one!
If you would like to see a method that is largely similar but differs only in the first few steps, then you might want to check out this video by Shahzad Riaz which also features a quick demonstration of some of the ways in which you can customize the properties of your brush.
В последнее время Procreate набирает обороты, программа отличная и я тоже попала под ее очарование. Ну правда, удобно же, взял планшет и сидишь на диване, киношку включил и рисуешь себе. Или поехал куда, тоже удобно, планшет всегда в сумке. И вот, появились авторы, которые делают классные кисти, но делают только для Procreate. А ведь, так хочется использовать их и в Photoshop. Мне лично, очень даже часто. Поэтому я расскажу вам как легко и просто перенести кисти в фотошоп.
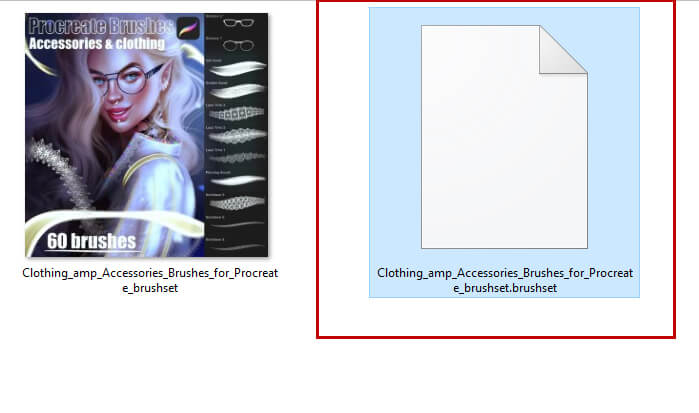
Итак, приступим. Мне очень нравятся кисти этого автора, я с удовольствием использую их в Procreate, но хочу сконвертировать их в Photoshop, чтобы не метаться между двумя программами. Нас интересует файл с расширением .brushset
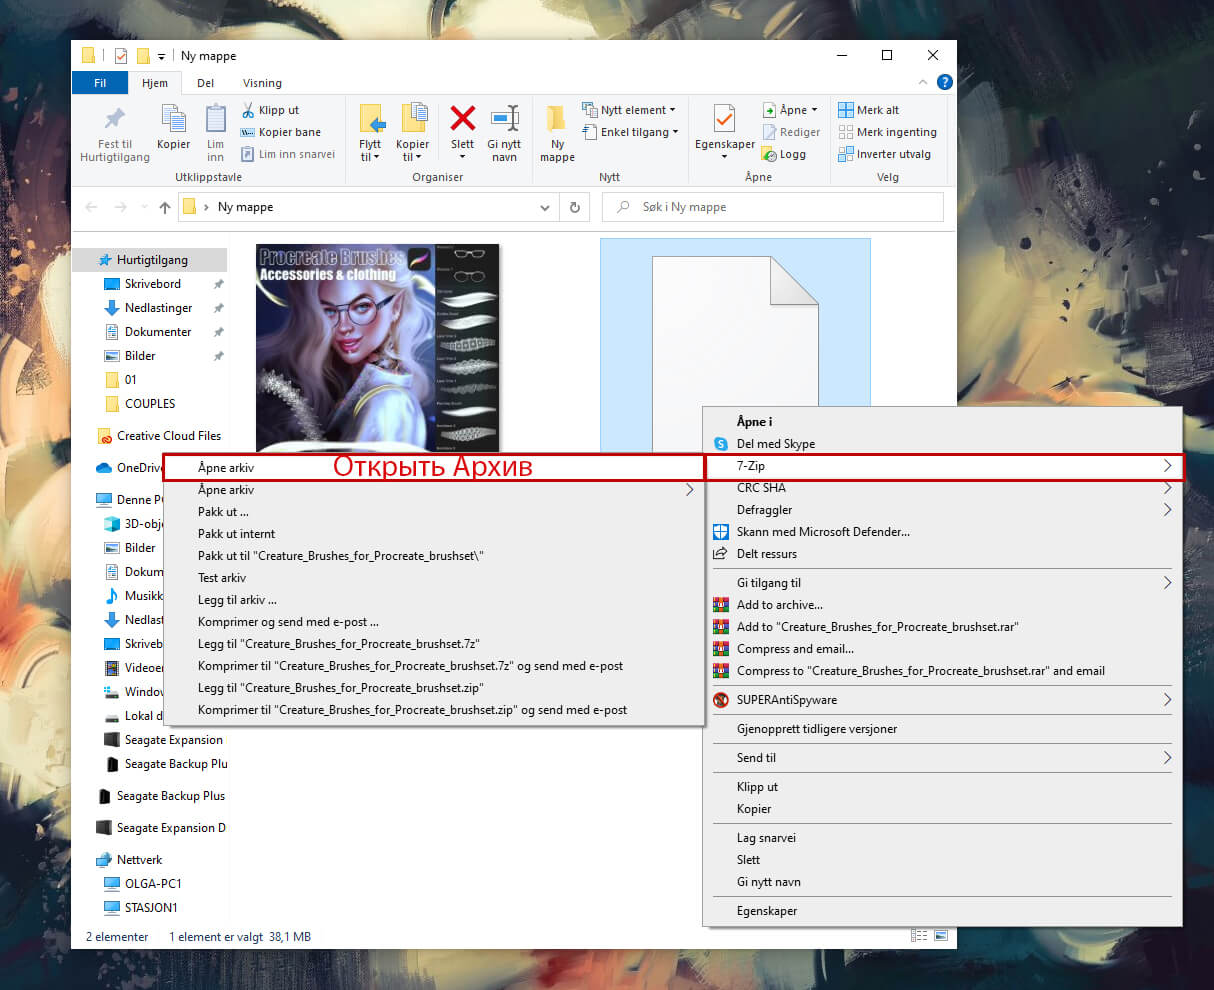
Этот формат не совместим с Photoshop, поэтому мы сейчас вытащим все, что нам нужно. Для этого нам понадобится архиватор 7z. Кликаем правой кнопочкой мышки по нашему файлику.
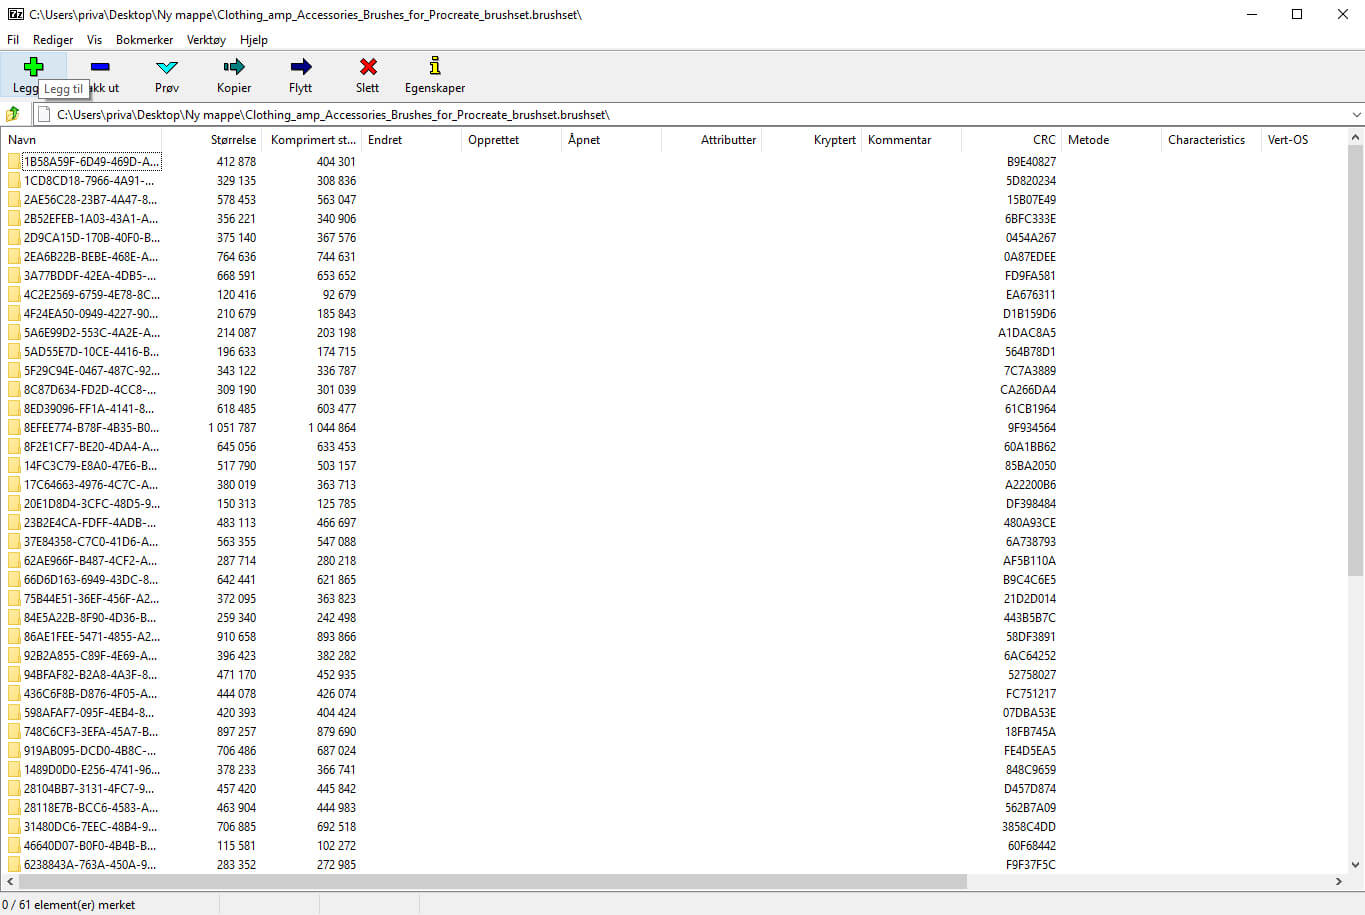
Мы видим много файлов.
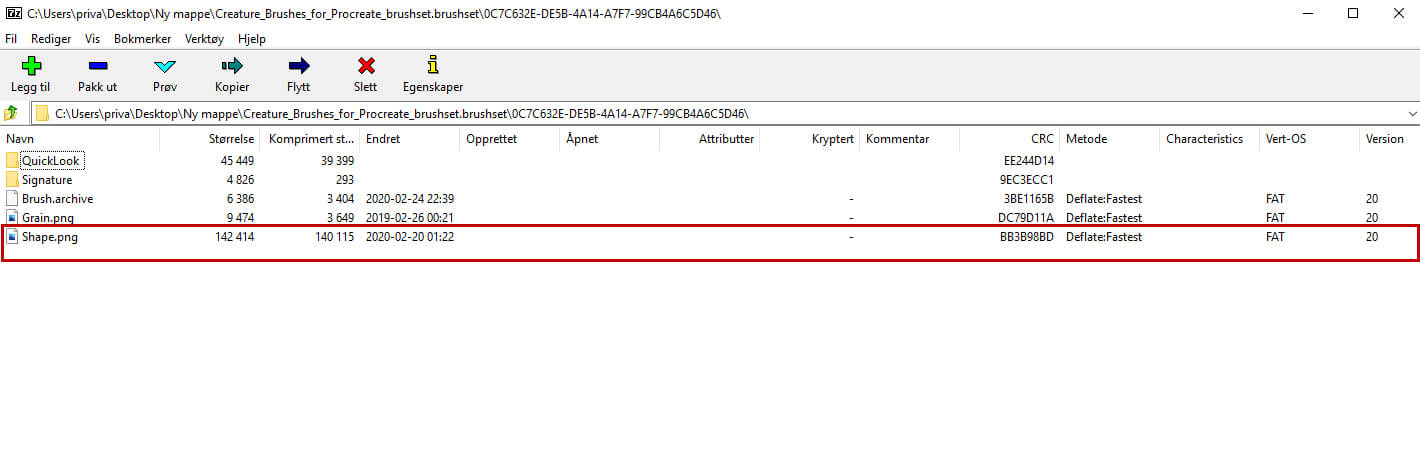
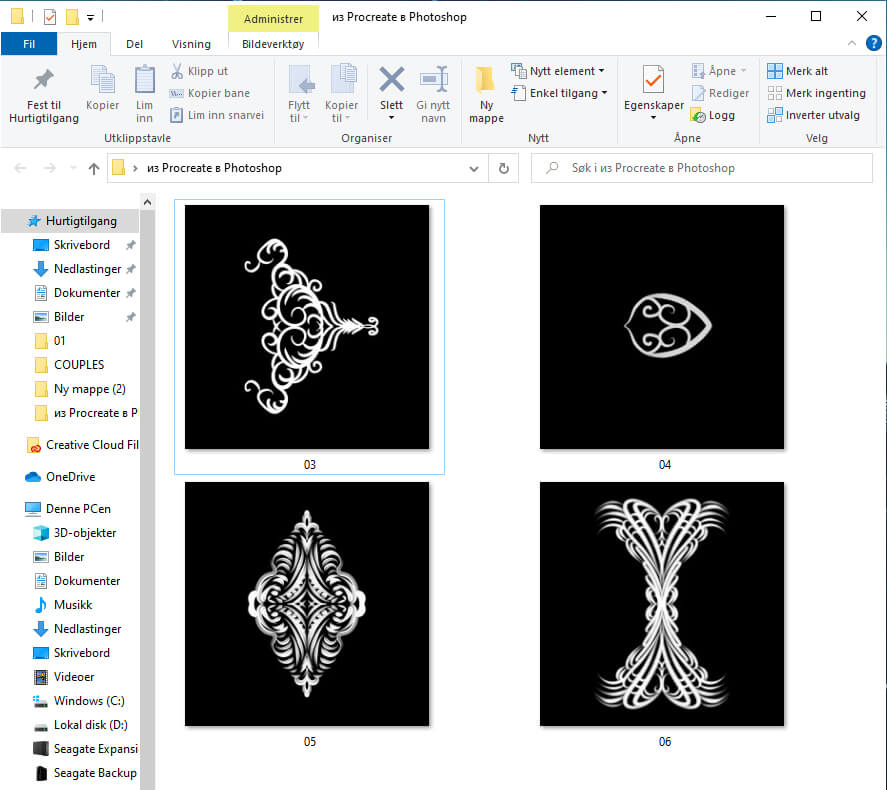
В каждой папке находится одна кисть из нашего набора. Открываем папочку и находим файл «Shape.jpg» Это непосредственно сам отпечаток кисти и нас интересует только он.
Я прошлась по папочкам и отобрала те отпечатки, которые мне понравились и как я думаю мне пригодятся. Скопировала их в отдельную папочку.
Первый этап мы успешно проделали и вытащили отпечатки, теперь осталось их перенести в Photoshop. Я уверена, что вы, все знаете как определить кисть в Photoshop, но на всякий случай расскажу кратенько, чтобы тем кто не знает, не нужно было искать дополнительно. А кто знает, то вы уже можете конвертировать кисти и с удовольствием ими пользоваться.
Итак, открываем наше изображение в Photoshop. Я повернула изображение как мне удобно.

Чтобы определить кисть, наш отпечаток должен быть черного цвета на белом фоне, поэтому легко инвертируем наше изображение (Ctrl+I) Уменьшаем размер, так как исходный файл может быть довольно большим.
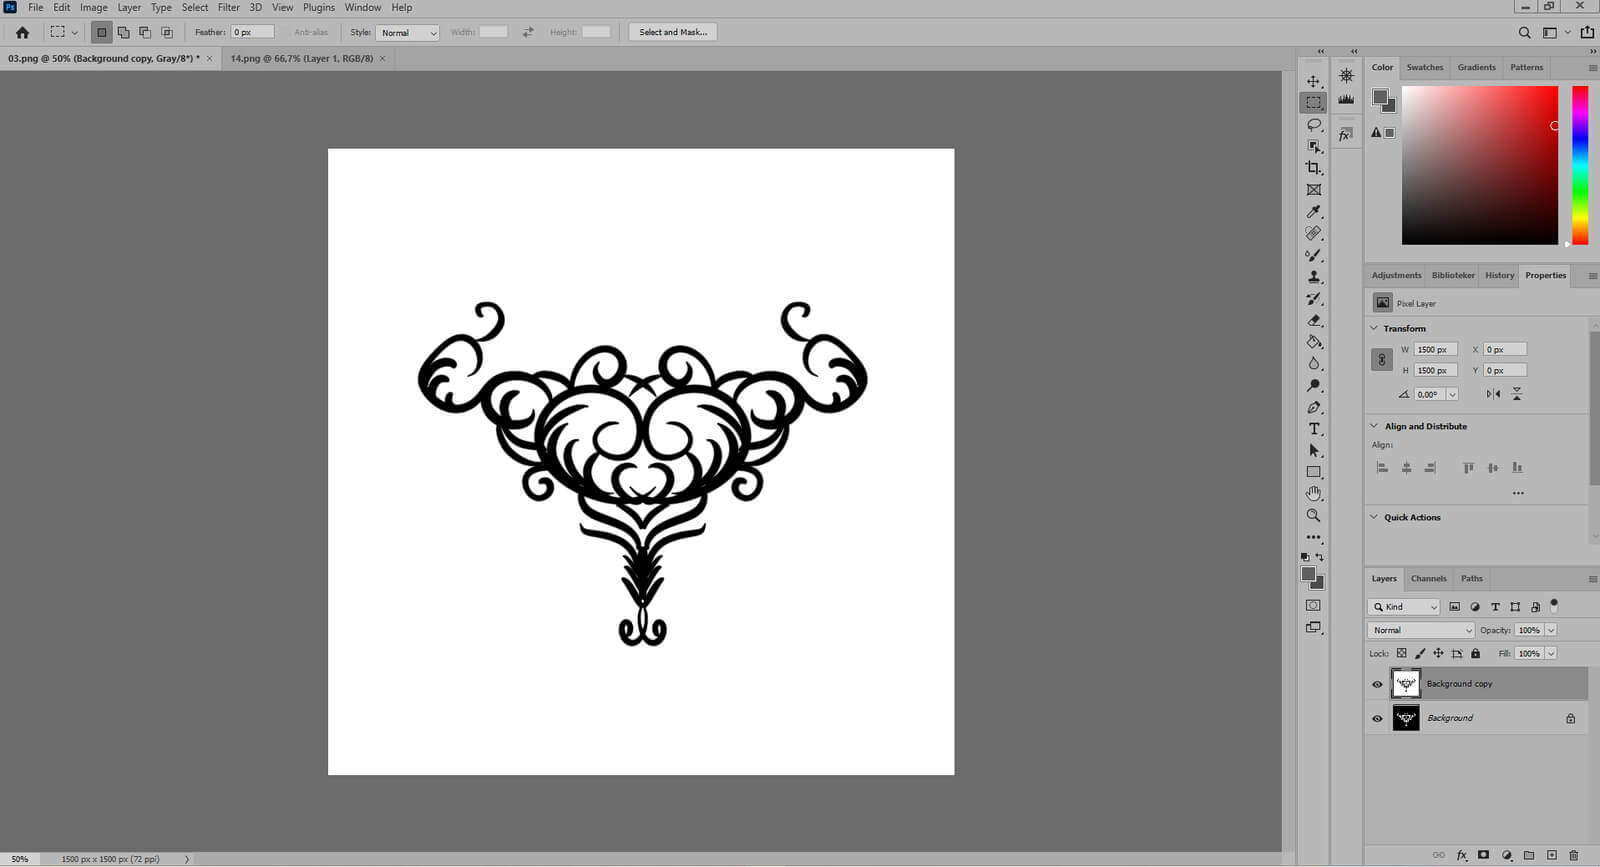
Определяем кисть. Присваиваем ей имя. И нажимаем ОК.


Все, наша кисть готова.

Дальше мы уже можем открыть настройки и настроить ее так, как нам нужно. Вот, такой вот несложный процесс. Надеюсь, что статья будет вам полезна. Всем желаю творческого вдохновения и удачи.
Для перевода приложение Procreate не нужно. Способ несложный, у меня все получилось с первого раза.
Перевод кистей состоит из двух этапов:
- Вытащить отпечатки кистей (файлы в формате PNG);
2. Перенести их в Photoshop и определить как кисти.
1. Вытаскиваем отпечатки кистей.
Скачиваем кисти Procreate на компьютер. Они могут скачаться архивом или одним файлом с расширением .brushset. Если вы скачали архивом, разархивируйте его. В архиве вам нужен один файл с форматом .brushset:

Этот формат не устанавливается в Photoshop. Поэтому нам нужно раскрыть этот файл и вытащить из него отпечатки кистей (файлы в формате PNG). Это можно сделать двумя способами — раскрыть файл .brushset с помощью архиватора файлов (WinRAR, 7z) или с помощью Яндекс Диска. Я покажу оба способа.
— Открываем с помощью архиватора (у меня 7z, с WinRAR будут те же действия):
нажимаем на файл правой кнопкой мыши, выбираем наш архиватор и «Открыть архив» (в зависимости от версии Windows может быть «Открыть с помощью… — наш архиватор»):

Файл открывается. Видим много папок:

Каждая папка — отдельная кисть. Открываем первую папку (кликаем дважды мышкой, как обычно). Видим несколько файлов и среди них файл с названием «Shape.jpg» (форма). Это — отпечаток кисти. В каждой папке нам нужен только этот файл:

Тащим его в специально созданную нами папку где-нибудь на рабочем столе (можно тащить сразу в Photoshop, но мне удобнее сначала собрать их все и видеть, сколько их и нет ли одинаковых, чтобы случайно не продублировать кисти):

Можно открыть его и рассмотреть:

Замечательно. Теперь нужно повторить те же действия с оставшимися папками — перетащить все остальные файлы «Shape.jpg»:

— Открываем с помощью Яндекс Диск:
Открываем Яндекс Диск. Загружаем наш файл в формате .brushset (листайте карусель):
Photoshop and Procreate are two of the highest-rated digital painting apps among artists.
Most professionals favor them because they come with amazing brush selections, and you can build custom brushes from scratch.
Many people want to transfer their favorite brushes from one app to another when creating complex art.
Is that possible? Read on to find out.
Can Procreate Brushes Be Used in Photoshop?
Photoshop-compatible brushes are stored in “.abr” files. There are so many different ones available for download online, but some artists want to use the original Procreate brushes or the custom ones they made inside Photoshop, as well.
Unfortunately, Procreate brushes with the extension “.brush” or “.brushset” can’t be imported or installed in Photoshop directly, neither the iPad nor the desktop version.
However, there’s a workaround:
How to Install Procreate Brushes in Photoshop?
Installing isn’t a good word choice here, but you can remake and use the Procreate brushes with one of the following methods:
First Method:
Step 1—Find the .brush or .brushset files and change the file extension to .zip.
Step 2—Open the .zip file.
Step 3—Extract the PNG images contained within it.
Step 4—Import the image into Photoshop.
Step 5—Try to mimic the brush settings and remake it as a custom brush there.
Second Method:
Step 1—Open Procreate and edit the settings on your selected brush.
Step 2—Set the spacing as far apart as possible, the size to the largest, and turn up the opacity.
Step 3—Change the color to pure black, and choose a transparent canvas.
Step 4—Draw on the canvas in a way that you get only one instance of the brush tip, much like a stamp.
Step 5—Once you get the base shape of your brush, save it as an image.
Step 6—Repeat steps 4 and 5 in the first method to create the brush.
Is Procreate Compatible with Photoshop?
Yes. Procreate has become compatible with Photoshop in its latest updates. Firstly, you can import the Photoshop PSD files and preserve the layers, meaning all your PSD layers will stay separate in Procreate so that you can continue your work.
To do so, you’ll have to open the PSD file from the source, which could be the Photos app or Files app. Tap Share and then import to Procreate.
In Procreate 5, you can use Photoshop brushes with the .abr extension. You should save the files on your iPad or cloud storage, open them, click share, and import them to Procreate for installation.
Alternatively, you can import them through Procreate itself. Open any document, tap on the Brush icon, and then on the little Plus Sign to open up the Brush Settings. Tap on Import, find the .abr file of the brush, and tap on it to install.
Some people say that more complicated brushes won’t work in Procreate as flawlessly as in Photoshop, so you may have to tweak a few details to get the best results.
How Do I Import Brushes into Photoshop on iPad?
Unfortunately, Photoshop doesn’t support importing brushes on the iPad. iPad Photoshop was released in 2019, with just the basic features and qualities.
It has come a long way since then, but unlike similar apps such as Adobe Fresco, you can’t save and import brushes to Photoshop through your iPad.
The developers say that the app will have more features “very soon.”
Another feature they intend to add to iPad Photoshop is “brush syncing.” You’ll have to sign in to Photoshop with the same account on your iPad and PC.
Add your .abr brushes to Photoshop on your laptop, computer, or other devices. Then open Photoshop on iPad, tap on Brushes, tap on the three dots at the top right corner of the window, and turn on Brush Syncing. Your saved brushes will transfer to your iPad, ready for use.
Until Photoshop develops these features, you can use the brushes in Procreate on your iPad. As mentioned, the latest version of Procreate supports .abr brushes.
Can You Favorite Brushes in Photoshop?
You can’t “favorite” your brushes in Photoshop, meaning there isn’t a little star or heart you tap, so the brush becomes one of your favorites. However, there are ways to group your favorite or most-used brushes.
As you spend more time working with Photoshop, you’ll run into several brushes you want to use more frequently. The more brushes you download, the harder it’ll get to keep track of them and find one easily.
So, it’s best to organize the brushes with the same theme or style into separate folders.
- Open the Brush Panel and click on the Gear icon on the top right corner.
- Once the menu pops open, click on New Brush Group.
- Type in a name for this specific group, and click OK. The folder will appear at the bottom of the list in the brush panel.
- Click on any of the brushes and drag them into the new folder.
- Add as many as you want!
This way, you can create a favorites folder, as well. If you want to copy brushes and not move them from one folder to another, click on the brush and tap the little Plus Sign at the top right corner. That will duplicate your brush.
You can rename it or keep the original name. Then drag the second version and drop it into any of the folders you’ve created.
Is Procreate Easier Than Photoshop?
Photoshop might be easier to work with for professionals in certain areas. For example, Photoshop’s editing might be more straightforward because of all the useful tools and additional features. Procreate can edit photos to an extent. But you’ll have to learn where to find all the tools and discover their potential.
On the other hand, when you think about the primary purpose of Procreate, which is creating illustrations and drawings, you could say it’s easier than Photoshop.
Procreate keeps its platform very minimal and simple, so you can jump right in with a brush. The learning curve is more straightforward, especially for beginner digital artists.
Is Procreate as Good as Photoshop?
The answer to this question would be a definite yes if we’re comparing Procreate with the iPad version of Photoshop.
As of this moment, Apple store Photoshop has to go through many updates to reach the potential of the desktop model.
- Illustration: Both apps can create beautiful illustrations and drawings, but Procreate is mainly built for this purpose. Its platform, tools, and features make an artist feel more at home. That’s why it’s the go-to app for many professional digital artists. Plus, the iPad and Apple Pencil combo make you feel like you’re drawing with real brushes on real paper.
- Photo Editing: Procreate provides you with basic and simple photo editing tools, mainly to make it easy for you to create better drawings. But Photoshop is the ultimate photo editing platform that gives you lots of control down to every little detail.
- Brushes: Since Photoshop has been around for a very long time, many different compatible brushes are available for download online. Procreate has lots of great built-in brushes and allows you to change them to your liking or build your own from scratch.
- Customization settings: These are more versatile than Photoshop’s. Plus, you can use Photoshop brushes in Procreate with the latest version. Although some say the more complicated brushes don’t work the same, Procreate is still the overall winner in this category.
- Layers: Although Procreate lets you create up to 90 layers for your drawings, that’s still a limited number. Photoshop allows you to add hundreds of layers, which can be a necessity for creating more complicated and detailed drawings.
- Simplicity: Many first-timers become overwhelmed with the toolbars and complicated menus when they open Photoshop. On the other hand, Procreate’s simple platform makes it easy to pick a brush and start drawing right away. Both apps have a bit of a learning curve; it’s just more straightforward with Procreate.
- Compatibility: Procreate is made for iOS devices and Apple users, most specifically those with an iPad and Apple pencil. However, Photoshop is compatible with Windows, macOS, as well as iOS systems. This feature targets many more digital artists, especially those who prefer a bigger screen.
- Price: You should pay $9.99 once to purchase Procreate without any additional costs and monthly fees. On the other hand, a subscription through Adobe Creative Cloud is necessary for buying Photoshop, and it costs $20.99 per month. So, Procreate is the cheaper option, unless, of course, you want to invest in an iPad and Apple Pencil.
- Time-lapse Recording: As opposed to Photoshop, Procreate can record your drawing process with all the details and brushstrokes and speed it up in the form of a time-lapse video. This feature is excellent for those who want to share their work on social media.
Final Thoughts
Procreate, and Photoshop are similar in many ways and satisfy the needs of many pro artists. Even so, they both have their strengths and flaws in different areas.
Depending on what you want from a digital art platform, you can choose your preferred app with the tight comparison you just read.
If you’re new to Procreate, you should also read about its video editing capabilities.
Читайте также: